Data lake
At Tail CDP, your databases will be inserted into a repository with high processing capacity, able to receive files from different sources and structures that can be merged, segmented, enriched, analyzed and made available on other tools and platforms.
To learn more about the concepts involved in data processing via CDP, check out the introductory content on the subject in CDP (Module 1) , by Tail Academy.
Datastore Configuration
To start populating the CDP with the data you want to work with, access the Data Lake section on the left side menu and then create a datastore to store it.

If this is the first time this process has been performed on your CDP account, select " Create my first datastore ".
Now, if there is already datastore created in your account, just select " Create new datastore ".
STEP 1
- Name your datastore;
- Select the source * of your base: File upload (data can be manipulated) or external BigQuery (read only);
- Determine the size of your base between: Smalldata (up to 1GB; allows advanced queries online) or Bigdata (unlimited size; only allows advanced queries via pipelines).
In this process, data ingestion options will be made available through file upload and BigQuery, which means that platforms with records that can be exported in CSV/XLS format or that have a connection to BigQuery, can have their data available in Tail CDP. These are the cases of, for example, RD Station , AWS , Salesforce , Google Analytics , media platforms , third-party DMPs , etc.
Tail DMP - If the origin of your data is Tail DMP, check the Integration process via token and notify your customer service contact at Tail.
See examples of data that can be made available on CDP via connection to Tail DMP:
- Data from monitored campaigns;
- Custom hearings of online properties;
- Onboard CRM enriched with Tail behavioral data.
The synchronization of this data coming from the Tail DMP happens once a day.
The entire configuration process consists of 8 steps, which will be visible in the CDP header when creating your datastore. These steps can be categorized into the following pillars:
- Origin and composition of the base that will be made available;
- Legal basis related to the data in question;
- Anonymization of personal data;
- Adding information to the base via Tail data or data providers .
We indicate that, to proceed with the configuration, check if you already have the necessary information for the settings mentioned above . In addition, in the first stage, a sample of the base will be used in case of file upload, therefore, previously provide a file in CSV, XLS or XLSX format with column structure corresponding to the original base, in a size of up to 25Mb .
You will be able to follow your progress through the steps that will appear in the CDP header throughout the configuration of your datastore:
STEP 2 - File Upload
Select a sample base file that respects the structure of columns and their values, with a size of up to 25 Mb.
- Next, indicate the type of file selected (CSV/XLS), the existence of a header (Yes/No) and, in the case of a CSV file, which separator is used in the file.
STEP 3 - File Upload
- Analyze whether the inference made by the algorithm about the type of data corresponding to the information found in each column of the file is correct. This step is extremely important for future functions performed through the CDP to be successful . To edit the type of data found in the column, simply select the blue pencil next to each base header title, which will be displayed as follows on the platform:
STEP 4 - File Upload
- Indicate whether there is, in the file, a column with information that identifies, individually, who the user/customer is in the base. Example: CPF, email, registration ID, hash , etc. If yes, select the corresponding column as the primary key .
- If the file does not have identification data, choose Generate a primary key . In this way, unique identification keys will be generated and will correspond to the records in the database.
STEP 5 - File Upload
- Select which of the legal bases, corresponding to the General Data Protection Law (LGPD) , supports the storage and processing of data contained in the base by your company.
Consult the legal department and professionals responsible for good practices in compliance with the LGPD in your company, to ensure the best option for each case.

STEP 6 - File Upload
- At Tail CDP, it is possible to choose to anonymize some data at the source, that is: to leave some information anonymous even before it is made available in the datastore. This can be done in specific columns to be indicated in this step, such as: column with names in customers. Just select the columns that contain information you want to anonymize and move on to the next step.
STEP 7 - File Upload
- Enrichment : this process consists of adding data from Tail and/or partner providers to its base, based on an association key - a type of data existing in the base that will serve as a reference for matching with the enrichment data -, aiming to expand knowledge about users in a qualitative way and enabling new functions of segmentation and combination of datastores.
If you want to perform the data enrichment step in CDP during the creation of your datastore,
check out the step by step here .
To continue with the creation of your datastore and carry out the enrichment step for another time, just click on "Next" at the bottom of the page.

STEP 8 - File Upload
- To finish configuring your datastore, select SAVE.

SFTP - Identifying the destination folder of the base in the created datastore
- Return to the Data Lake session on the left side menu of your CDP and select Info from the created datastore menu;

- Among the information available about the datastore, there will be the Directory , the sequence informed in this field will be the name of the destination folder for sending the base via SFTP (secure file transfer protocol. Example: Filezilla) to this datastore.
If you haven't made the SFTP connection with Tail yet, see how to do this process .
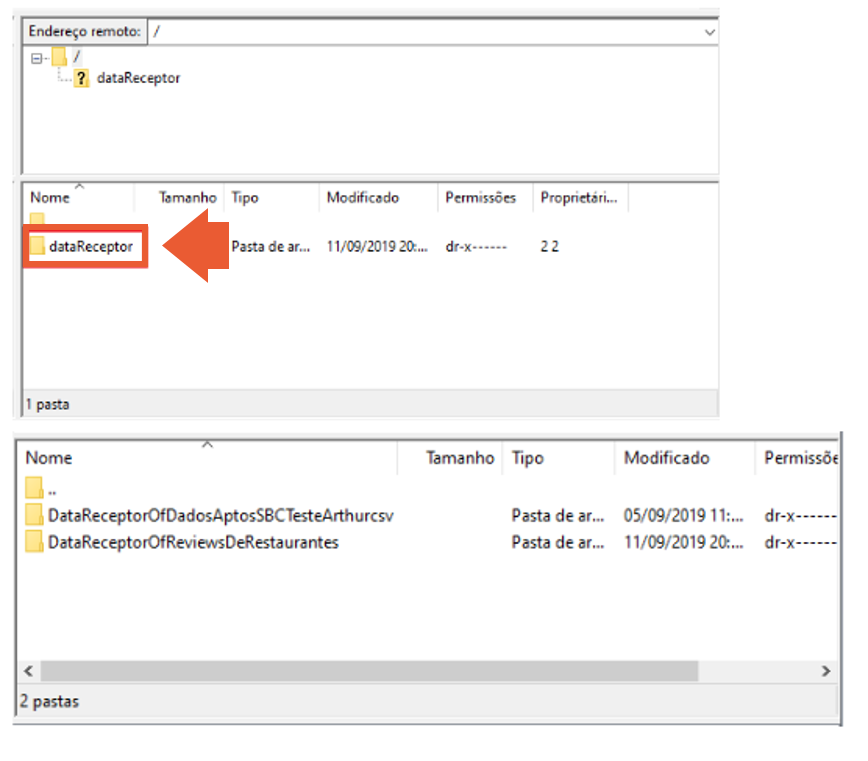
- In the SFTP interface you are using, open the site manager and, within the remote addresses, in the dataReceptor folder , look for the folder you will use to transfer to this datastore (whose name is the same as the directory).
STEPS FOR SENDING DATA VIA BIGQUERY
Don't have your BigQuery account connected to Tail CDP yet? Complete this step before continuing.
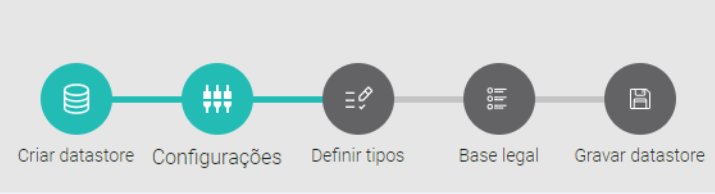
In this datastore process via BigQuery, there are 5 steps that will be followed and will be visible in the header of the CDP, where you can follow your progress in the configuration. Remember that the datastore created by this source does not allow data manipulation, only reading .
STEP 2 - BigQuery
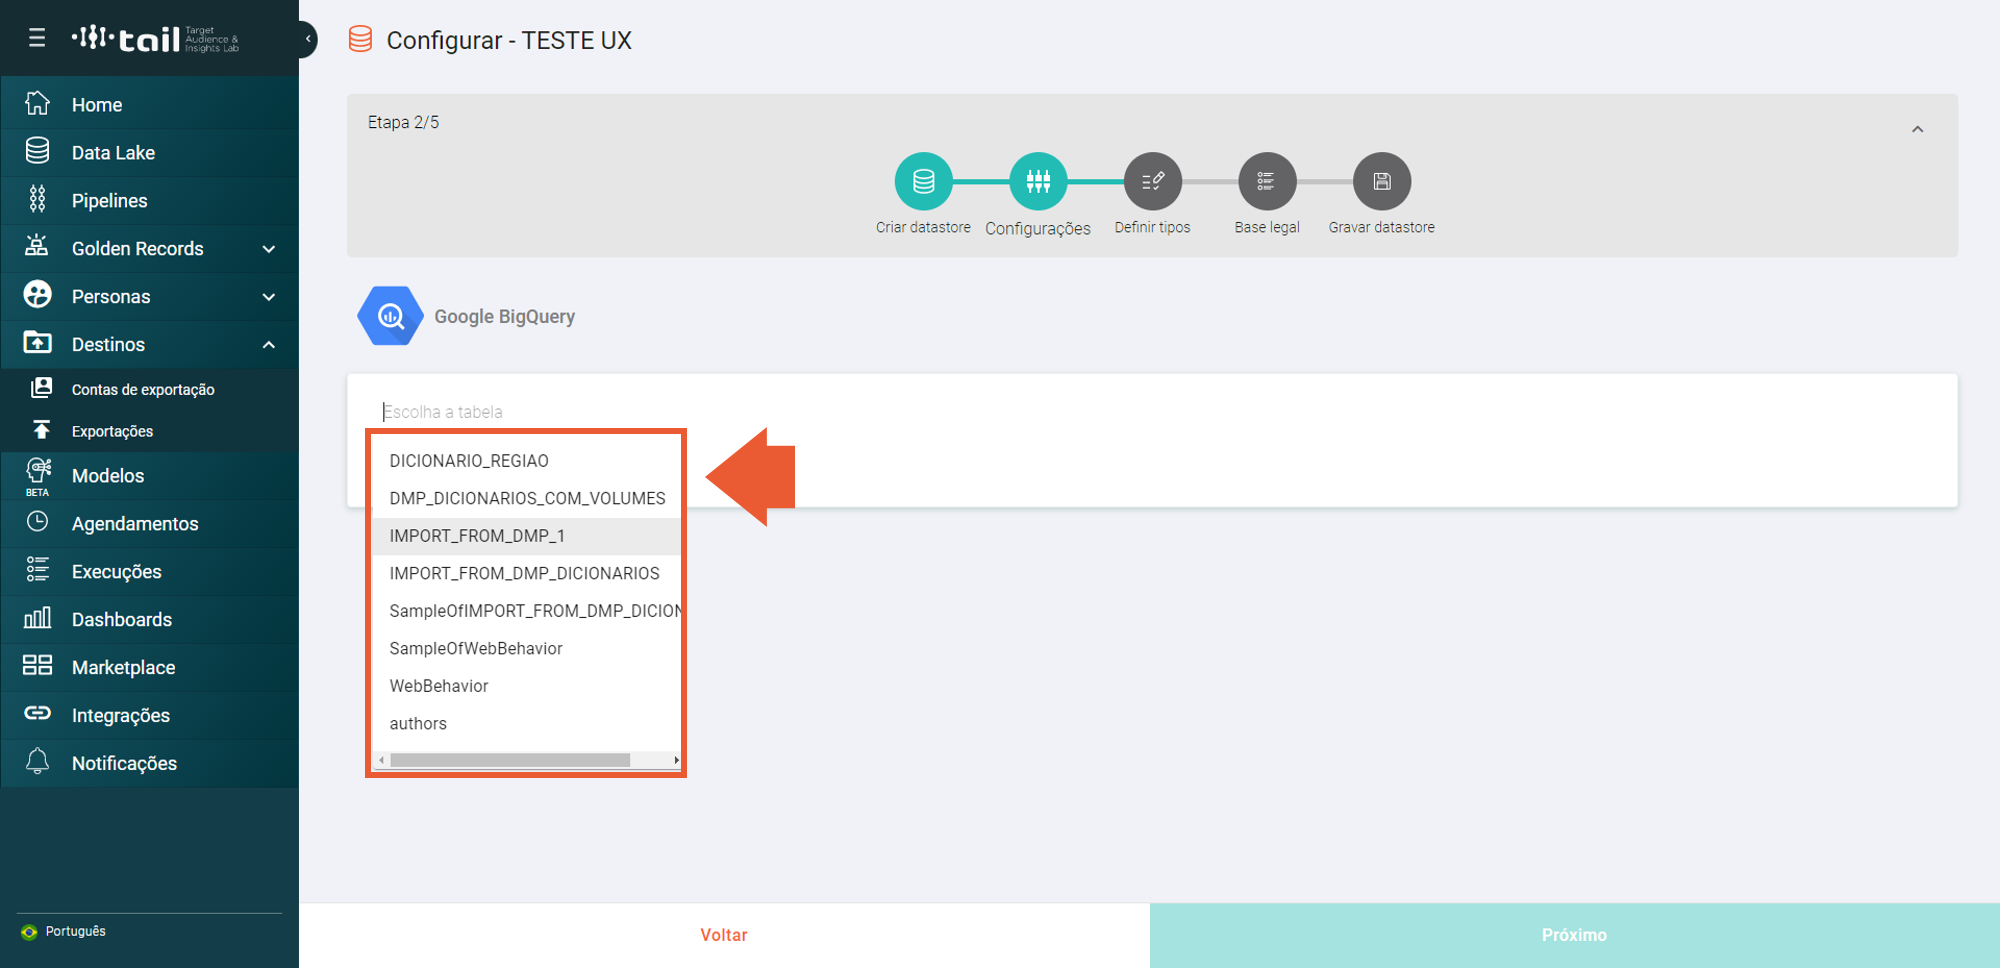
- Select the table you want from among those that the registered account has access to;
STEP 3 - BigQuery
- Visualization of columns and types of file information;
STEP 4 - BigQuery
- Select which of the legal bases, corresponding to the General Data Protection Law (LGPD) , supports the storage and processing of data contained in the base by your company.
Consult the legal department and professionals responsible for good practices in compliance with the LGPD in your company, to ensure the best option for each case.
STEP 5 - BigQuery
- To finish configuring your datastore, select SAVE.
Any questions in the process, please contact us! Send an email to: academy@tail.digital